This post will show, how to configure Tacacs device authentication in iMC TAM, on a Comware device
If you would like to use Tacacs device authentication together with Active Directory, you can manage this by connecting iMC TAM to Active Directory, using this how to:
How To: iMC Tacacs+ and Active Directory Sync
For this how to, I use the latest versions of iMC and TAM:
- iMC PLAT 7.1 (E0303P06)
- iMC TAM 7.1 (E0302P08)
Tacacs Device Authentication Configuration on the iMC TAM Server
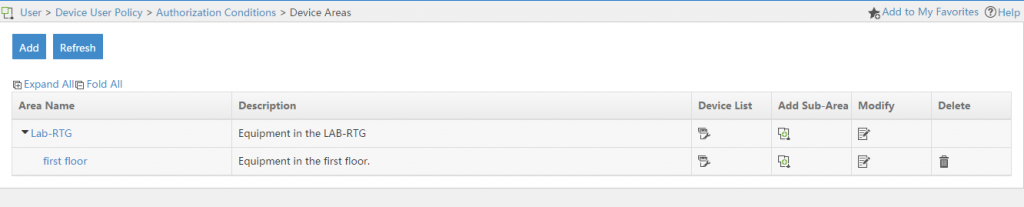
I will start creating a “Device Area”, this step is optional, but it can help you organize bigger environments. You can organize your devices in different areas to create access rules of the device by area. To start, go to “User–>Device User Policy–>Authorization Conditions–>Device Areas” and click on “Add”:

Fill in the required fields and click “OK”, to create the area. You can now add a “Sub-Area” to this area by clicking on the “Add Sub-Area” button in the “Device Areas” list:
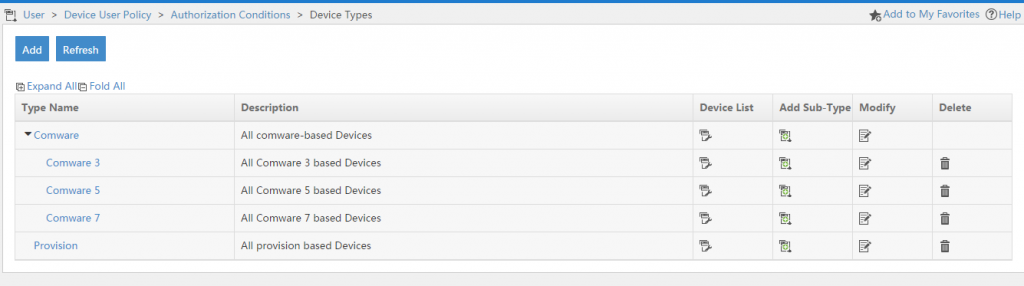
If you work with different vendors or OS’s versions in your environment, it would make also sense to create “Device Types”. Those “Device Types” can be used to attach different “Command Sets” to different devices, according to their commands they support. This is again optional but I would recommend it. To start go to “User–>Device User Policy–>Authorization Conditions–>Device Types” and click the “Add” button:
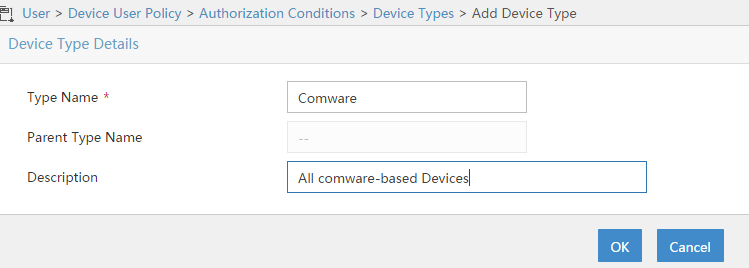
Fill in the required fields and press the “OK” button to create the device. You can also create sub types with the “Add Sub-Type” button:
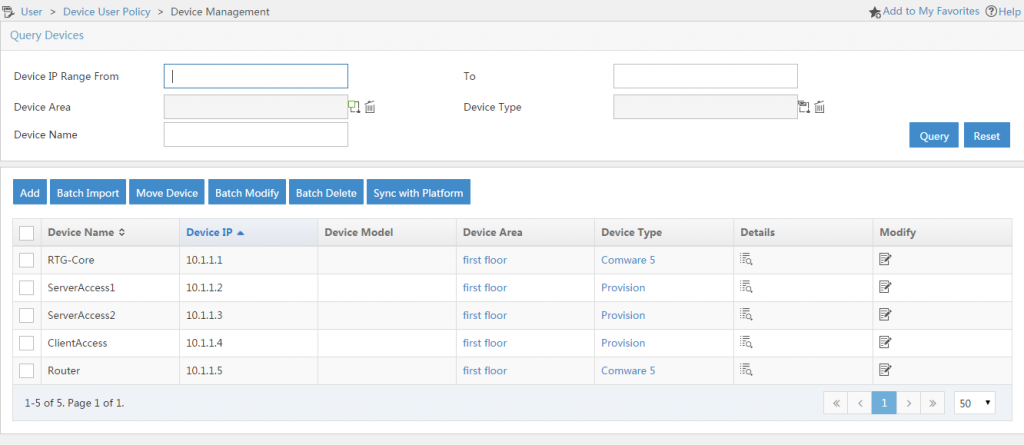
The next step is to add the devices to TAM which should be able to use the TAM server for Tacacs device authentication. To start go to “User–>Device User Policy–>Device Management” and add as many devices as needed by using the “Add” button:
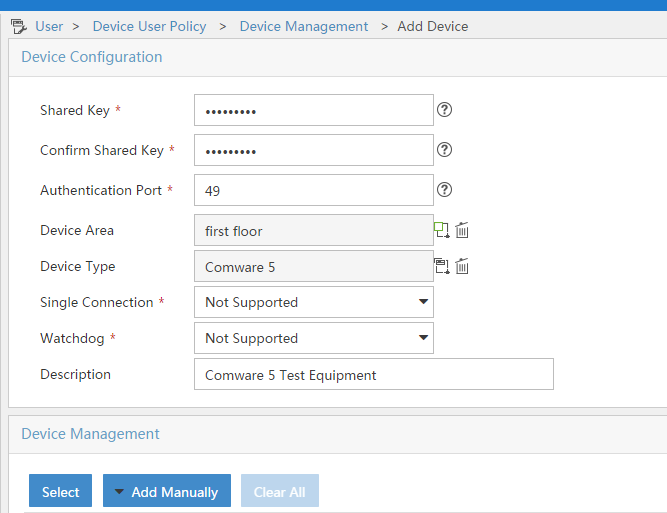
Fill in the required fields, and select the correct “Device Area” and “Device Type” if configured in the step before, and click the “Select” button, or the “Add Manually” button to add devices. Afterwards click the “OK” button to save:
You can also add time ranges for authorization process which allow access to the devices only to a certain point in time. This is not mandatory but optional. Go to “User–>Device User Policy–>Authorization Conditions–>Time Ranges” and click the “Add button:
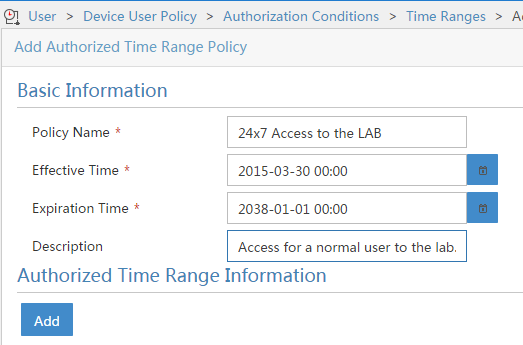
Fill in the required fields and select a time range for which the time range policy is enabled and then click “Add” to add specific times:
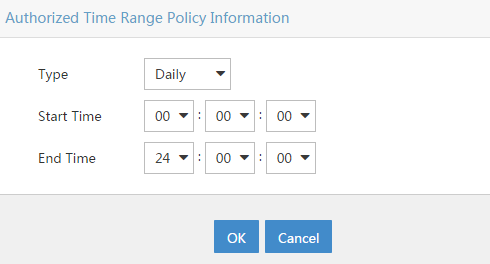
You can select a type of different recurring times and the start and end time. I create a “Daily” time range for 24h. By clicking on “OK” you add the time range to the “Time Range Policy” and you can save the “Time Range Policy” by clicking “OK” again.
You should now add a “Shell Profile” by going to “User–>Device User Policy–>Authorization Command–>Shell Profiles” and click the “Add” button:
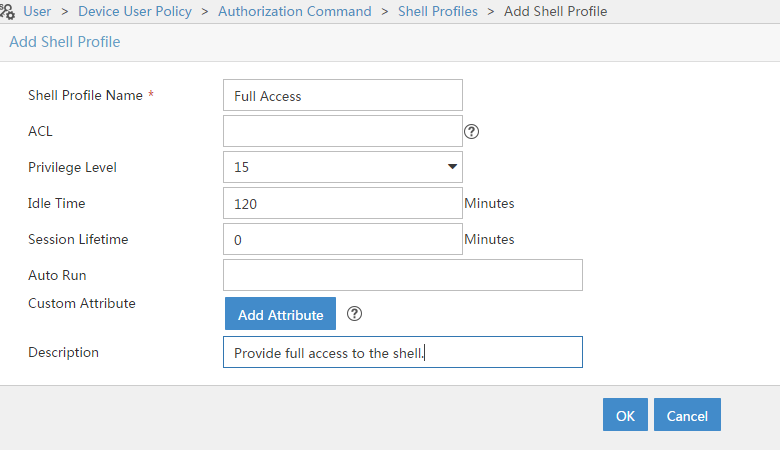
Fill in the attributes you need and save the profile by clicking the “OK” button. The “Priviledge Level” 15 was chosen to grant full management access to the device without any restriction.
You can also restrict the commands, which can be used by the device user by creating “Command Sets”. Do this by going to “User–>Device User Policy–>Authorization Command–>Command Sets” and click the “Add” button:

Fill in the basic information and select the “Default Authorization Type”. This is important as this will decide if commands in the list will be permitted or denied. I created a command set, which will only allow display commands. Press the “OK” button to save the command set.
The last step, is to create the “Authorization Access Policy”. Do this by going to “User–>Device User Policy–>Authorization Policies” and click “Add”:
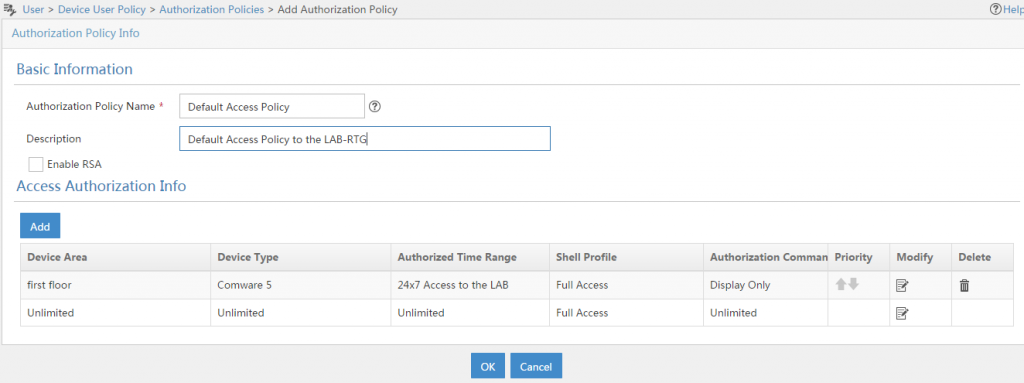
Fill in the required information. You can also enable RSA if you have an RSA server. I also added a custom rule to just allow display commands on Comware 5 devices. You can create your own rules if needed.
The last step is to attach the “Authorization Policy” to a user. You can do this by modifying individual user accounts in the “All Device Users” list or by selecting a bunch of users and use the “Batch Modify” button. I use the last one, as this will allow me to select more than one user. Go to “User–>Device User–>All Device Users” and select the users you would like to modify. Click the “Batch Modify” button:
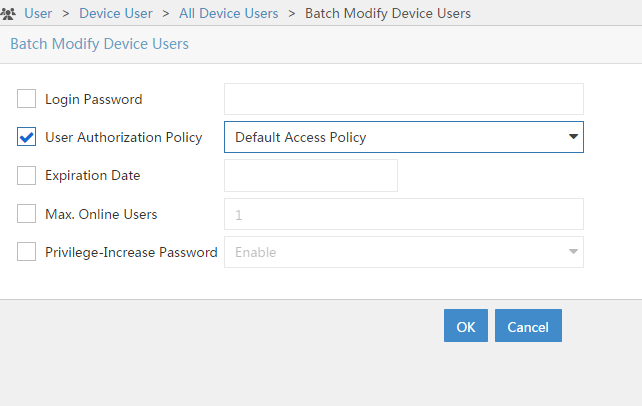
I only change the “User Authorization Policy” for the selected users. Clicking the “OK” button will start the batch process. Afterwards you will get a result page, showing you the success or failure of the process.
Configure Tacacs Device Authentication on Comware
The configuration on the iMC TAM server
hwtacacs scheme tacacs
 primary authentication 192.168.1.57
 primary authorization 192.168.1.57
 primary accounting 192.168.1.57
 nas-ip 10.1.1.1
 key authentication cipher $c$3$LJOiZFmxrrLwpu/9q9qPxyHTpc/XaXGI2pgqvg==
 key authorization cipher $c$3$emv0wFkI5rNBnSZeOgZMUXz68vTCloya2dVFog==
 key accounting cipher $c$3$WoLqgCBR8n4EnuealOrgsEu+zXI4qgYpFMuMbw==
 user-name-format without-domain
This hwtacacs scheme called “tacacs” uses the iMC TAM at “192.168.1.57” for authentication, authorization and accounting using the corresponding keys. The switch is also configured to use it’s management IP as the “nas-ip” and will remove the domain name from the user name.
The next step, is to create the domain, used for the authentication:
domain hpn.local
 authentication login hwtacacs-scheme tacacs
 authorization login hwtacacs-scheme tacacs
 accounting login hwtacacs-scheme tacacs
 authorization command hwtacacs-scheme tacacs
 accounting command hwtacacs-scheme tacacs
 access-limit disable
 state active
 idle-cut disable
 self-service-url disable
This domain called “hpn.local” uses the configured hwtacacs scheme for login authentication, authorization and accounting and for command authorization and accounting. Command authorization and accounting is needed to let the defined command sets working and to get a list of commands, issued by the device user. I also configured the domain to be the default domain:
domain default enable hpn.localThis will allow me to enter just the username, without the domain to get access to the device.
The last step, is to configure hwtacacs for the corresponding user interface:
user-interface vty 0 15
 authentication-mode scheme
 command authorization
 command accounting
 idle-timeout 1440 0
This will configure the virtual user terminal interface 0-15, or
Configure Tacacs Device Authentication on Provision
The provision based switches did not use all features of the Tacacs protocol. Therefore the configuration is much more simple. To start the configuration you have to configure the tacacs-server:
tacacs-server host 192.168.1.57 key very-secretAfterwards, you have to configure ssh to use tacacs for authentication:
aaa authentication ssh login tacacsThat’s it, nothing more to configure. With provision, you can only authenticate clients, using tacacs, there is no accounting or command authorization.
Tacacs Device Authentication Logging
After Tacacs device authentication is configured on the iMC TAM server and on the network devices you can start using it. For troubleshooting and governance reasons, you have some logging features on the iMC TAM server which will help you. Go to “User–>Device User–>Log Management” and you will find “Authentication Logs”, “Authorization Logs” and “Audit Logs”.
The “Authentication Logs” will show every authentication attempt, which was made.

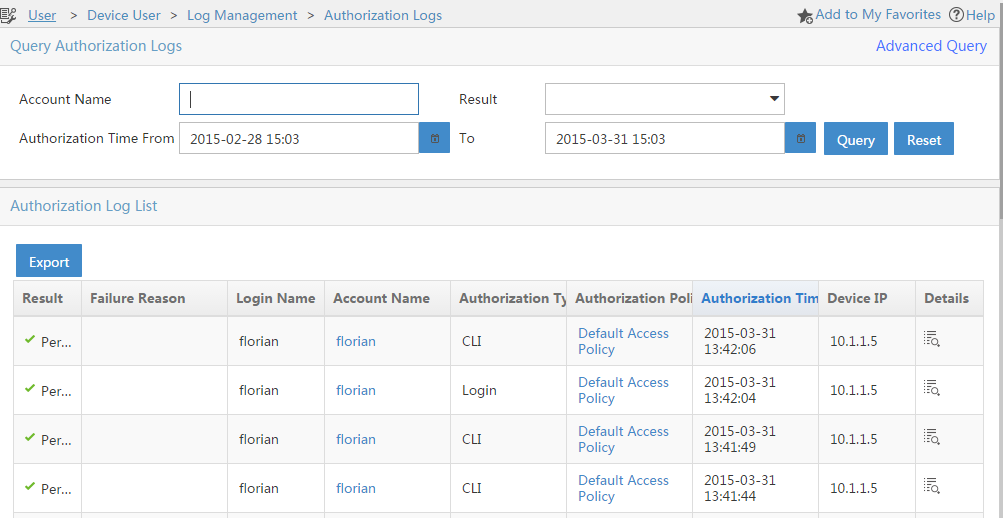
The “Authorization Logs” will show every authorization request. This includes login attempts, but also request for commands issued by the device user:
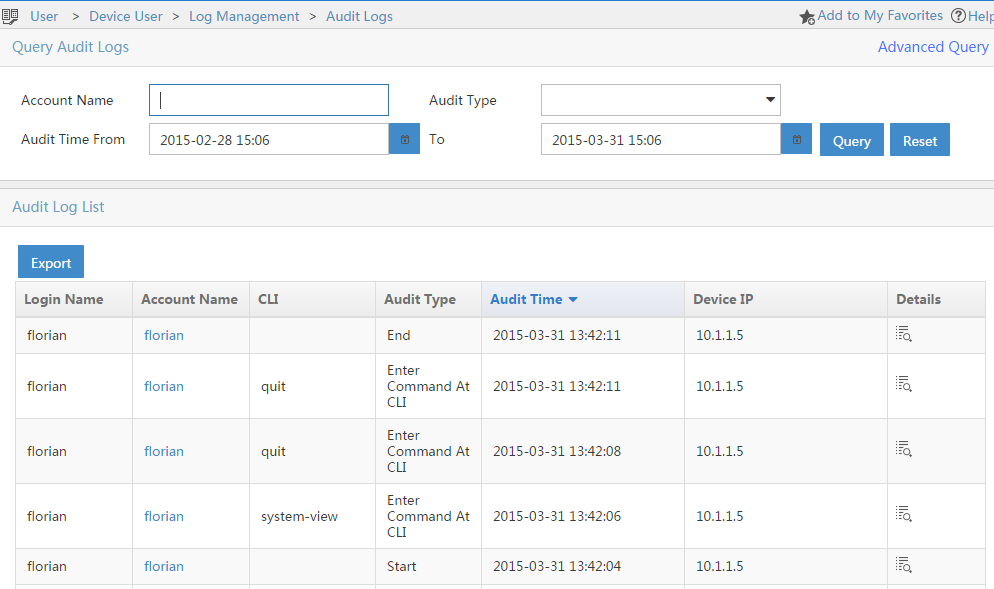
The “Audit Logs” will show the accounting information, which includes the login and logout operations and every command issued by the device user:
You have now everything in place to work with iMC TAM and do Tacacs device authentication to protect your environment from unwanted access.
If you have any question or feedback, please leave a comment below.