In this post, I would like to show, how to create a new VM with Proxmox by using the web based wizard. Before you can start you should have installed Proxmox on the host and configured the networking respectively. You can find my how to here:
How To: Install Proxmox on Debian Wheezy
To start to create a new VM with Proxmox, you need to get access to the Proxmox web GUI, which is available, using the following url: https://your-ip:8006/
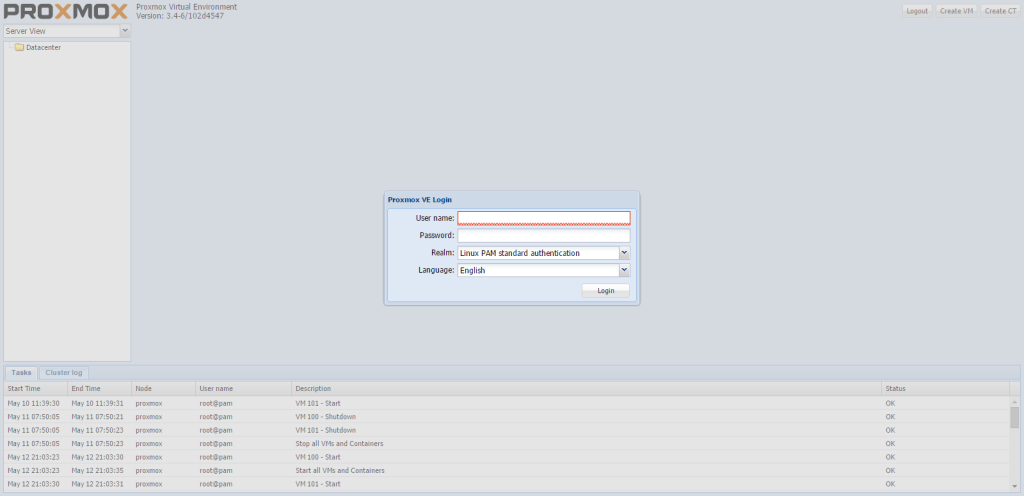
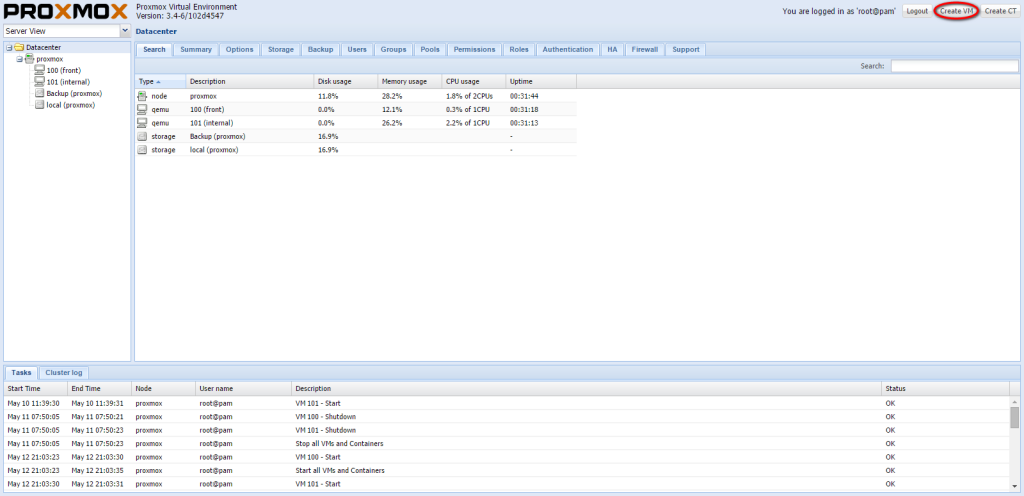
The default login credentials are your root user and your root password of the physical host. Using this credentials, you can login to the Proxmox web GUI and create a new VM by clicking on the “Create VM” button in the right upper corner:
This will open a wizard to create a new VM. On the first page, you have to insert the “Name” for the virtual machine and select the “Node” on which the VM should run on. If you have only one “Node”, as I in my test lab, the field is pre-filled with the correct node. Also the field “VM ID” is pre-filled and there is no technical reason to change this ID. If you need a specific ID’s for management purposes, you can change the ID here. You can also specify a resource pool, which should be used by the VM. This is useful, when working with more than one storage pool:
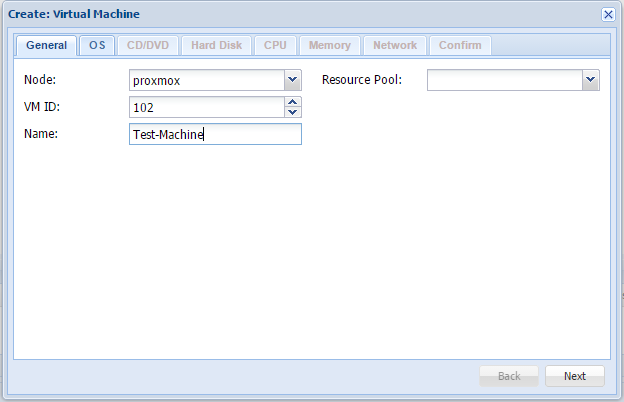
Click next to get to the next screen.
On this screen, you can select the operating system, which should be run in the VM. It is a complete list of current windows versions, and a complete list for Linux based systems and Solaris:
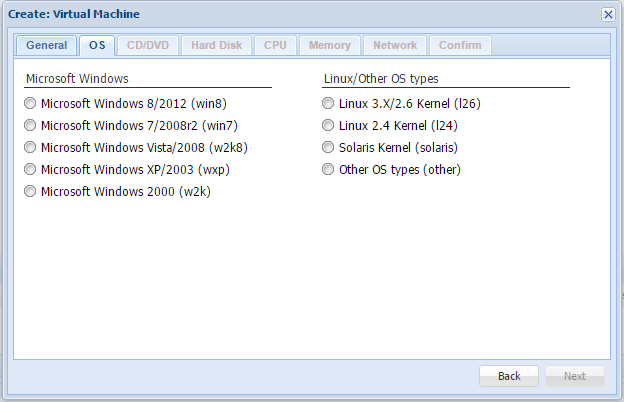
Select an OS and click “Next” for the next screen.
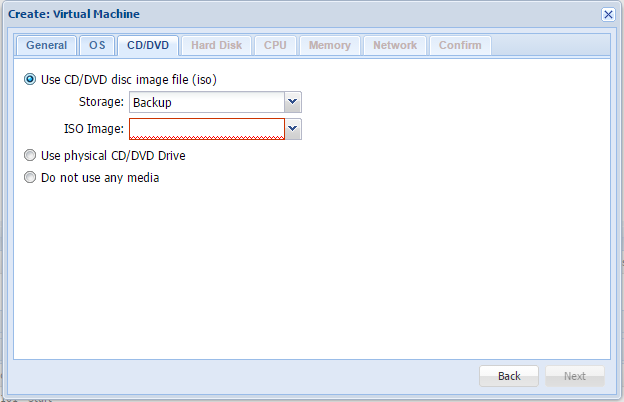
On the CD/DVD screen, you can select a disc image or the physical CD/DVD drive to use for the initial OS installation. If you choose the image file, make sure, that this file is already stored on a storage pool:
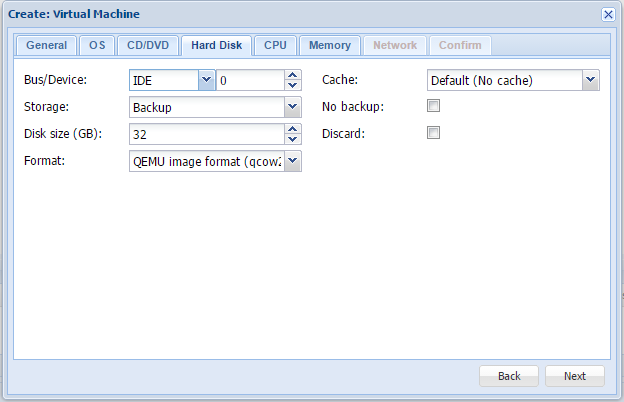
Click “Next” to get to the hard disk screen. Here you can specify the parameters for the hard disk. The default options should work for most of the cases, but you can also specify a vmdk file, if you migrate from VMWare. It is also possible to change the bus type, but for most cases, ide should work perfectly. You have to decide which storage pool should be used and which size should the new disk have.
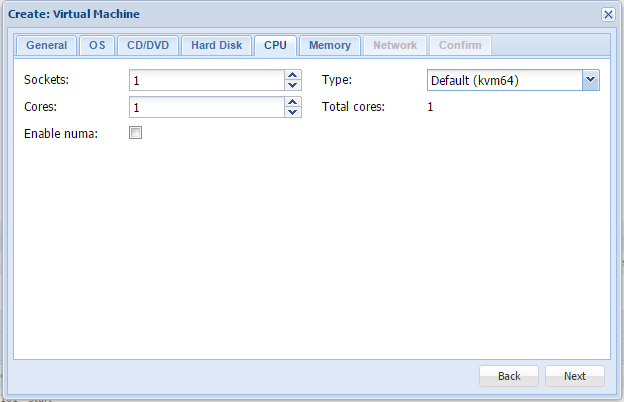
Click next to get the CPU screen. You can now select the number of sockets and cores. Make sure, not to over provision the host. The type of the CPU could be chosen from a long list of CPU’s, but the default one should fit for most of the cases.
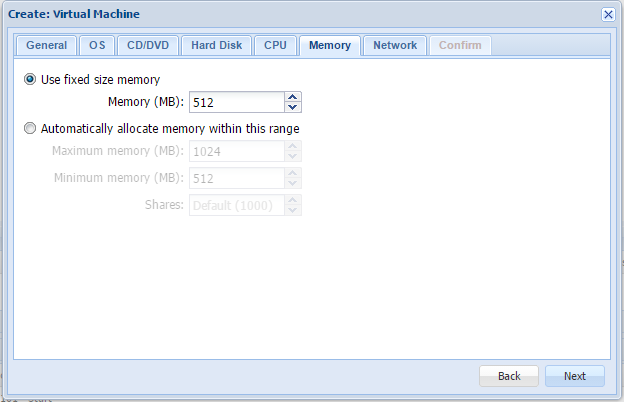
Click next, to configure the memory values for the VM. You can use a fixed memory configuration or a configuration with a minimum guaranteed value and a maximum value. The dynamic memory allocation must also be supported by the guest operating system.
Click next to get to the “Network” screen. Here, you can configure how the switch is connected to the network. For a simple
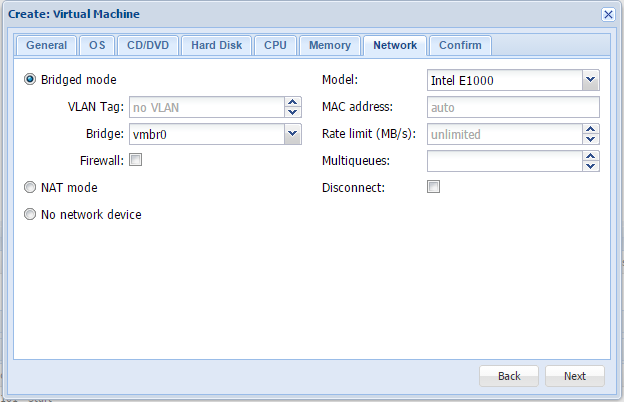
The last screen is just for confirmation. Recheck the options and click finish.
You can now start the VM and use the Console to install the operating system:
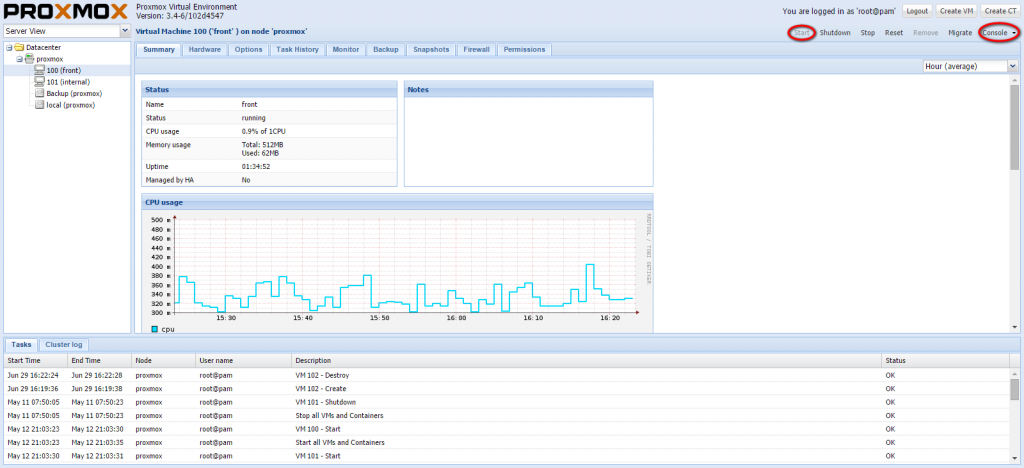
You should now be able to work with the VM and Proxmox. You can create further VM’s by using the same steps.
If you have any questions, regarding this post or if you would like provide feedback, please use the comment function below.
hallo,
wenn ich mit proxmox 10 VMs erstelle, zb ubuntu desktop…. für 10 Deskop PCs die sich in einer anderen Stadt befinden .
wie können die 10 desktoo users die VMs nutzen ? muss ich auf die 10 PCs eine software instlallieren damit die 10 Desktop users die VMs nutzen können ?
Oder müssen die 10 Desktop user mit browser auf meine website gehen und sich in proxmox einloggen und die VM nutzen zu können ?
überall gibt es super informationen und wikis für die admin und user managment seite für Proxmox , aber ich konnte keine info finden wie sich der user einer VM zb ubuntu vm , wie der user diese vm in einer anderen Stadt dann nutzen kann ?
bitte um hilfe.
danke sara
sara
Hi sara,
das ist nicht so leicht zu beantworten. Die User sollten nicht die Proxmox GUI verwenden, da diese für die Administration der VM’s gedacht ist.
Ich denke die einfachste Variante ist VNC zu nutzen. Dann können die User mit der VM arbeiten, ähnlich wie unter Windows mit RDP.
Allerdings hört sich das eher danach an, als wenn es sinnvoll wäre sich andere Lösungen als Proxmox anzuschauen. Das klingt eher nach einer Citrix oder VMWare View Anforderung. Aber ohne die Details zu kennen, ist das schwierig zu sagen. Ich bin was das angeht auch kein Experte.
Liebe Grüße
Florian