
Before I start with my post, I need to say sorry, as I missed my post in Mai due to heavy work load and three week abroad for a proof of concept with a customer. I simply couldn’t make it to write my post. My plan is to write two posts this month, to be on track again and to give you all the information needed, to build great solutions.
This time, I will show you a new cool feature within IMC (Intelligent Management Center) in combination with UAM (User Access Manager). With the latest version of UAM, you are now able to print guest voucher as a
Let me show it to you.
This new feature is available at the HP site here and is version E0203P03.
The guest voucher print is available in the selfservice portal of UAM, which means, you need to setup at least one guest manager before.
The selfservice page can be reached under the following URL:
You should see a screen like this:
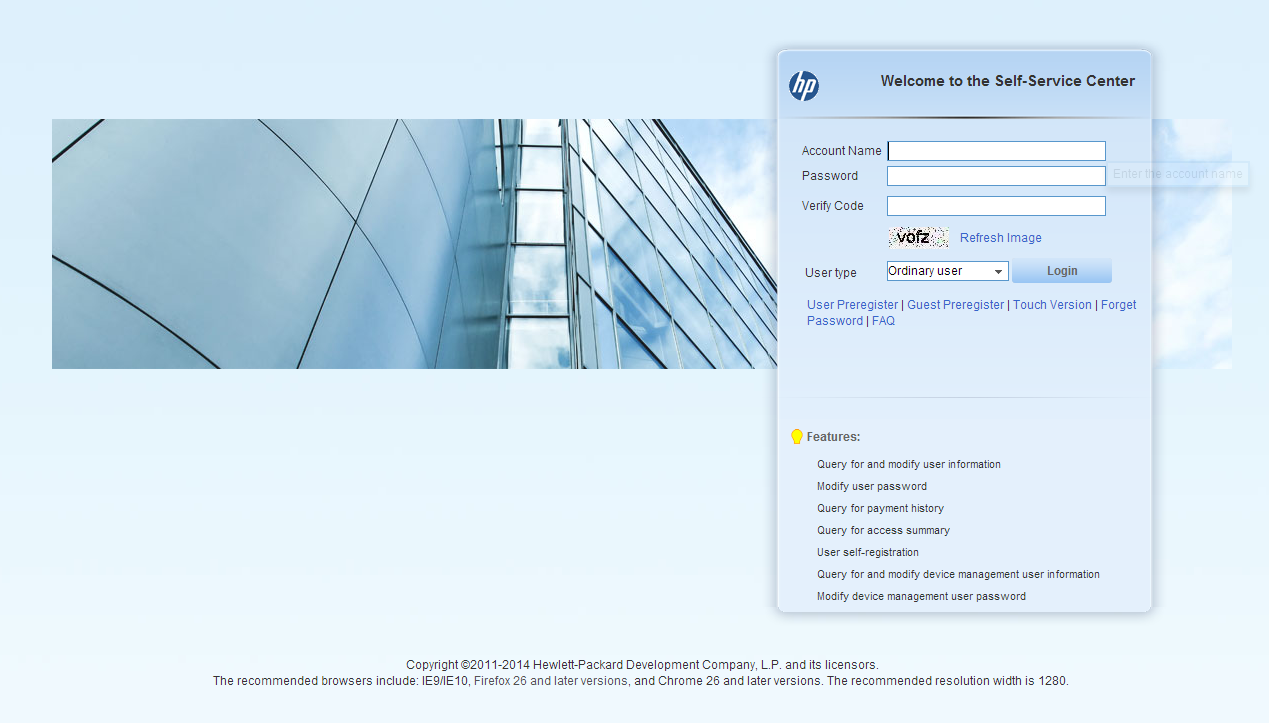
Simply login with guest manager credentials and you can create, delete and manage guest accounts within your IMC installation.
Before I can show you the batch voucher print, I need to create some guest accounts. Go to Guest Management –>All Guests and click “Add”.

Simply fill in all the needed information and press OK at the bottom. As I need to create more than one account, I will use the “Batch Import” to create the accounts. All you need is a list of names in a CSV file.
Clicking “Batch Import” will bring you to this page:
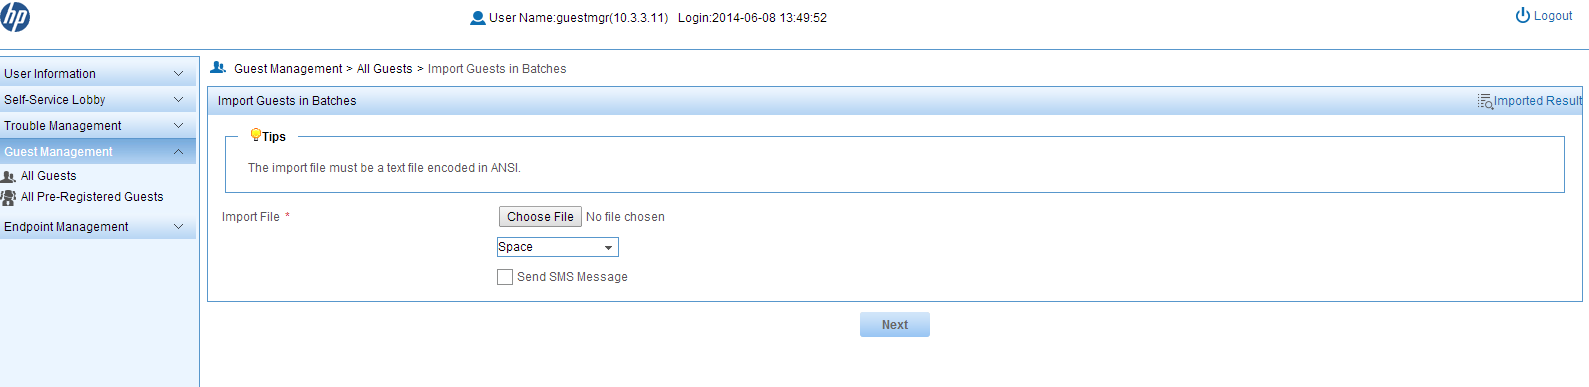
Just choose your CSV file and click next.
Now you need to select which information can be found in which column. As I have just a list of names, I select for every needed information column one, except for the password, here I use the random function, to create a random password for every account. You also need to select the Access Service for every account.
If you have more information in your CSV file you can import them as well. You just need to set the correct column for the information.
I always use the preview function at the bottom of the page, to check my selection. Afterwards click “OK” and the import is started. After a second you will see the result. Normally, everything should be fine. If not, you will get an error log.
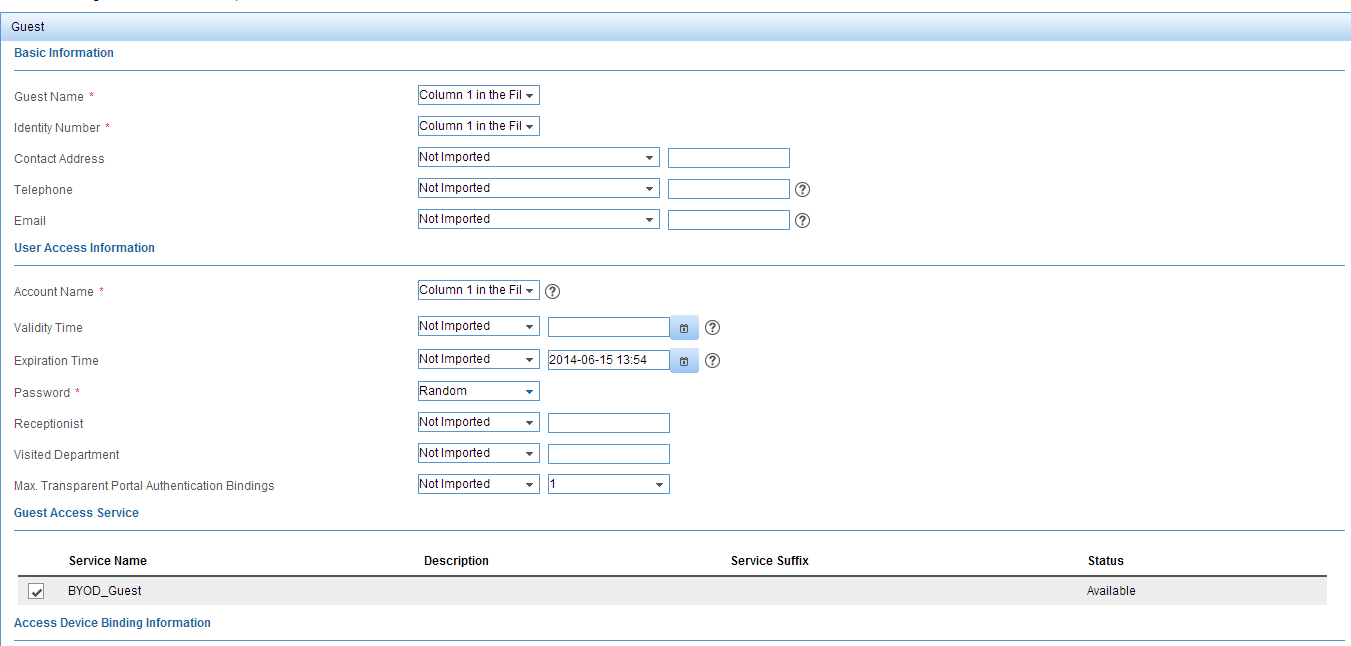
Now you should have some Accounts in your list and we can start to print a voucher for them. Select as much as you want and click print:
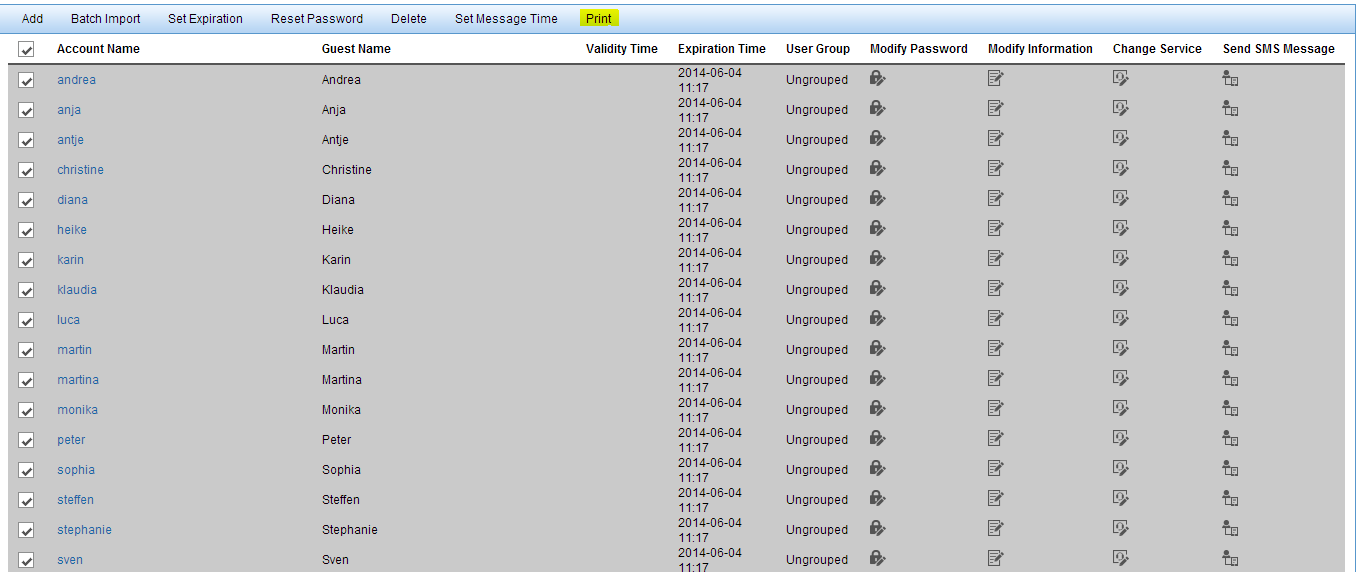
This will bring up this little window:
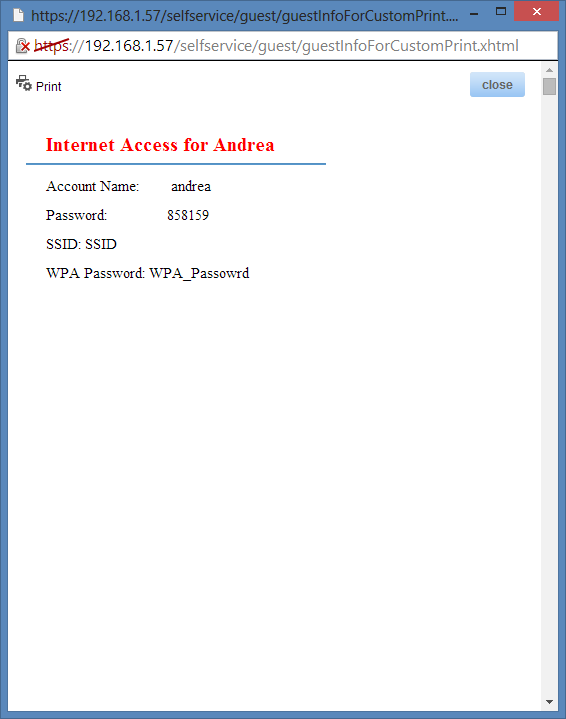
Normally, all Accounts are placed below the other, but I changed this, that way, that I get every account on a single page. Now, you just need to press print, and you will get all the vouchers. That’s it. Very simple.
There is also a tricky part here, which is the layout of the voucher. To change the layout, you need to edit an xml file in the IMC directory:
C:\Program Files\iMC\client\conf\ssv\Print\ssv\Print_en.xmlThis file uses some variables, to define which information should be grabbed from IMC. I changed this file to look like this:
<?xml version=”1.0″ encoding=”UTF-8″ standalone=”no”?>
<print>
     <title-style>color:red;font-size:20px;font-weight:bold;
                  padding-left:20px;font-family:”Times New Roman”;
     </title-style>
     <title>Internet Access for $fullName</title>
     <separator-style>width:300px;height:1px;</separator-style>
     <line-style>font-size:15px;padding-top:0px;font-style:normal;
                    padding-left:30px;font-family:”Times New Roman”;
    </line-style>
    <lines-style>
                 padding-top:0px;
                 padding-bottom:812px;
    </lines-style>

     <line>Account Name:        $userName</line>
     <line>Password:               $password</line>
     <line>SSID:                         SSID</line>
     <line>WPA Password:               WPA_Passowrd</line>
</print>
The part, which defines the page break, is this one:
 <lines-style>
                padding-top:0px;
                padding-bottom:812px;
 </lines-style>
If you change the layout of the voucher you just need to adjust this line:
padding-bottom:812px;
This line simply defines the space between to vouchers.
Have a look at the original file, which comes with the UAM installation. It will have all the available variables in the layout. There is also a manual for all the changes which are possible in the install folder of UAM. Also look into this document. This is very helpful.
Next time, which is hopefully next week, I will show, how the migration from the former MSM guest management tool to IMC UAM can be very smooth.