Since ClearPass version 6.6.2, we have support for KVM (Kernal-based Virtual Machine). In this post, I show how to install ClearPass on Proxmox. Proxmox runs KVM based virtual machines but unfortunately do not use the tools from the installation guide of ClearPass. Nevertheless, follow this post to get it running.
Running ClearPass on Proxmox is not officially supported by Aruba. Use it for testing only and expect limited support from Aruba. Run it on CentOS and follow the official installation guide to have a fully supported environment.
http://www.arubanetworks.com/techdocs/ClearPass/6.6/InstallingOnVM_6.6_TechNote/Default.htm
Install ClearPass in Proxmox: Create VM
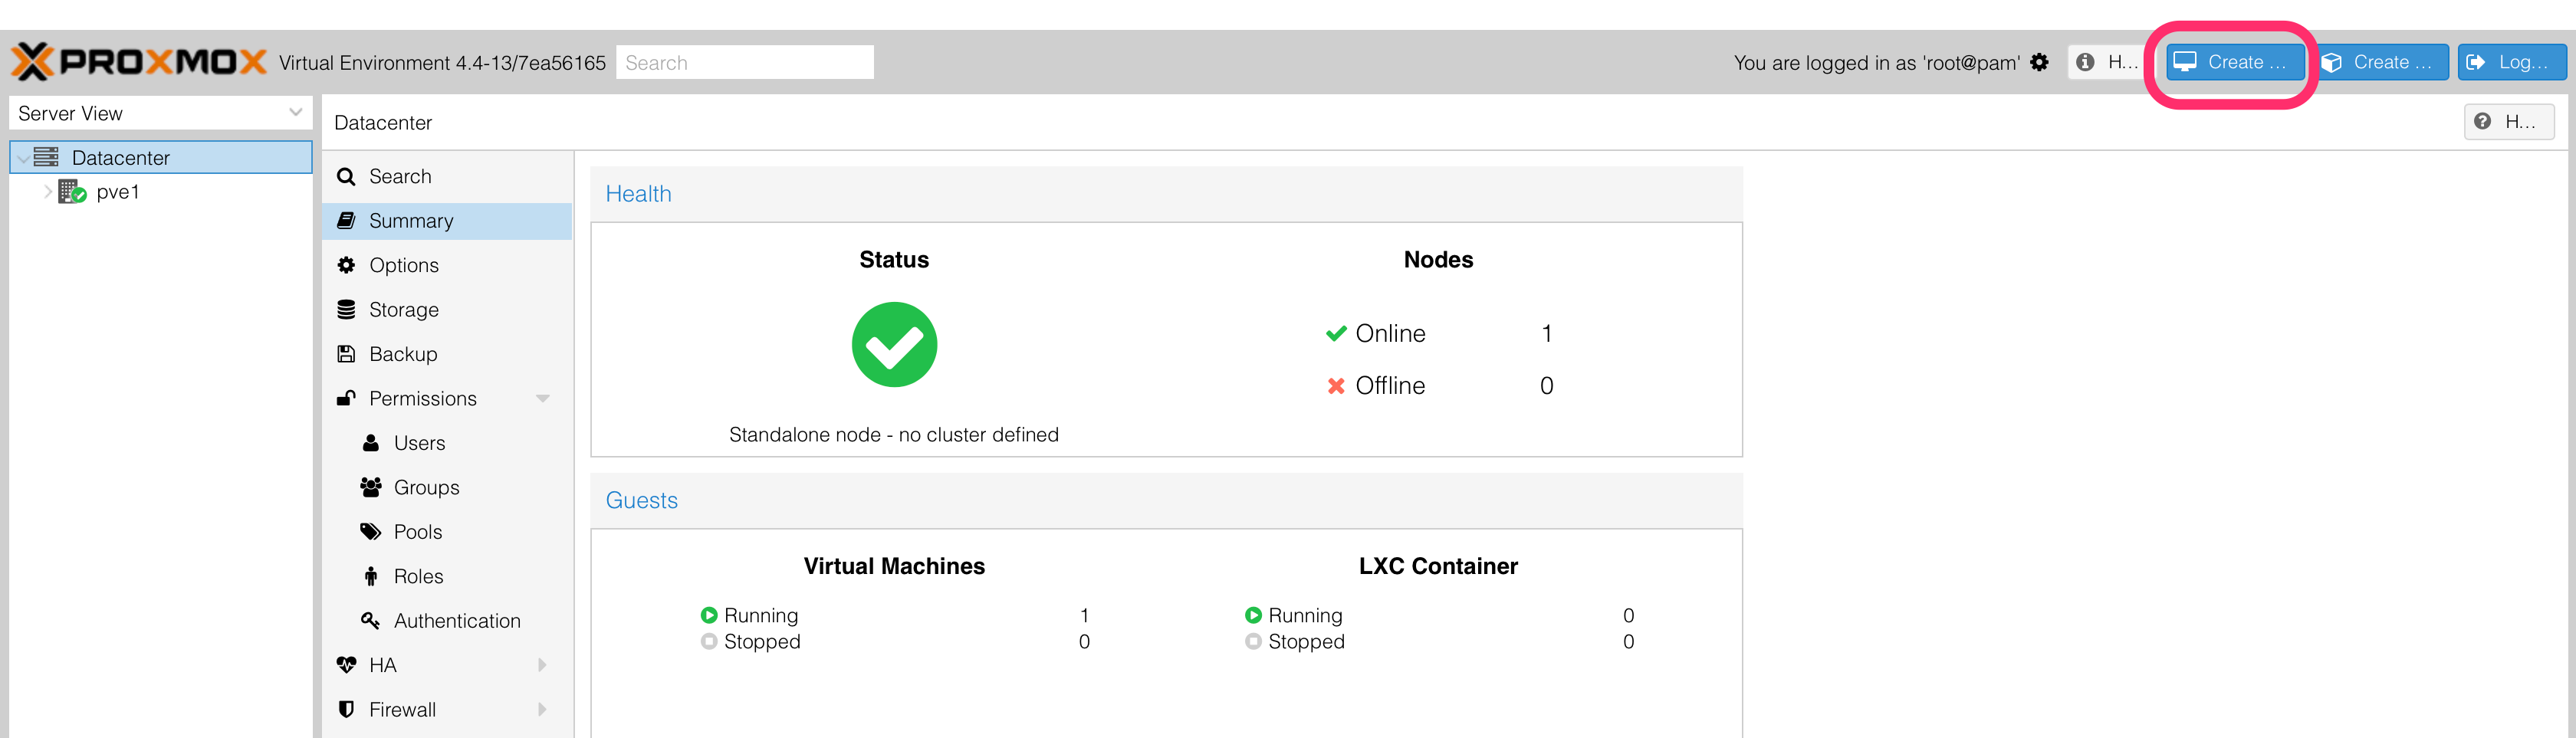
I assume, Proxmox is already up and running and you can create VM’s. To install ClearPass on Proxmox create a new VM for ClearPass. Click the “Create VM” button, top right in the management GUI of Proxmox:
This starts the wizard to create the VM. Follow the wizard step by step and select the hardware accordingly to the appliance you install. Refer to the release notes for this information.
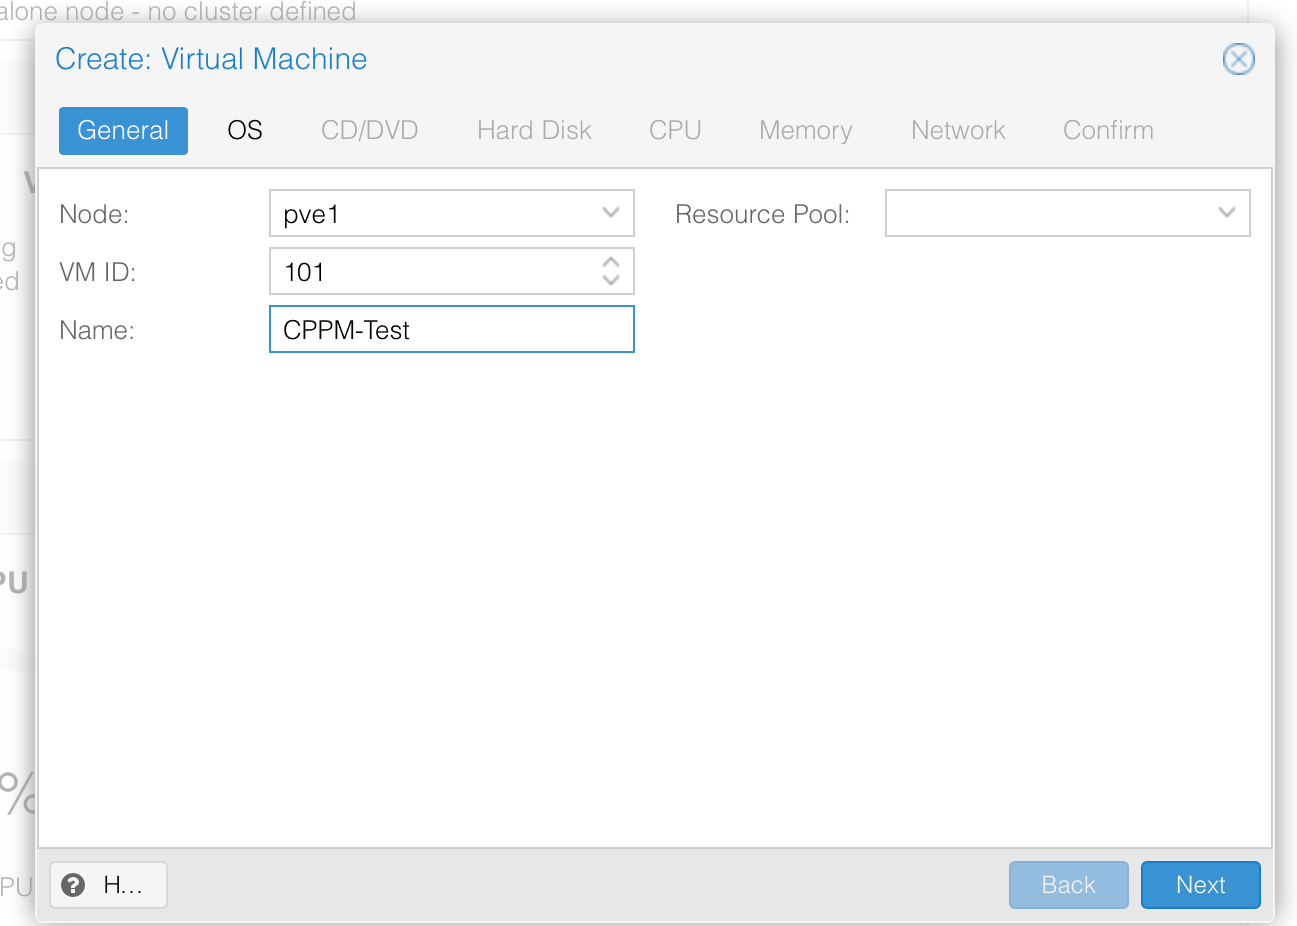
The first wizard page asks for the Proxmox “Node” and the “Name” of the VM. The VM “ID” is a number >100. Just make sure it is unique:
Click “Next” to get to the OS page. Select “Linux 4.x…” for the OS and click “Next” again:

At this stage, we do not need any media:

Create the hard disk for ClearPass. ClearPass will be installed to this disk, so size it accordingly to the hardware recommendations. Set the “Device ID” to 1:

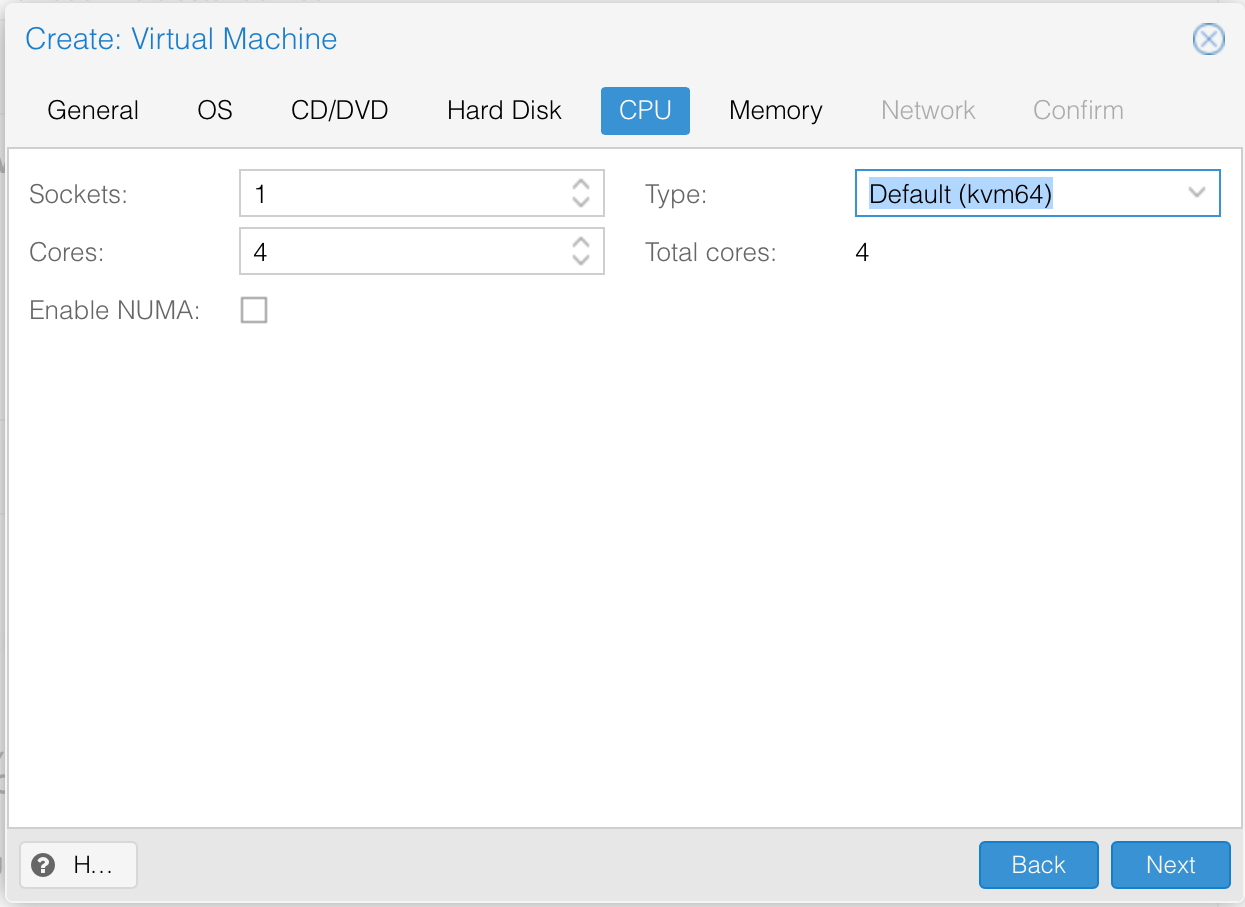
Same applies to the CPU. Size the CPU accordingly to the appliance you would like to install:
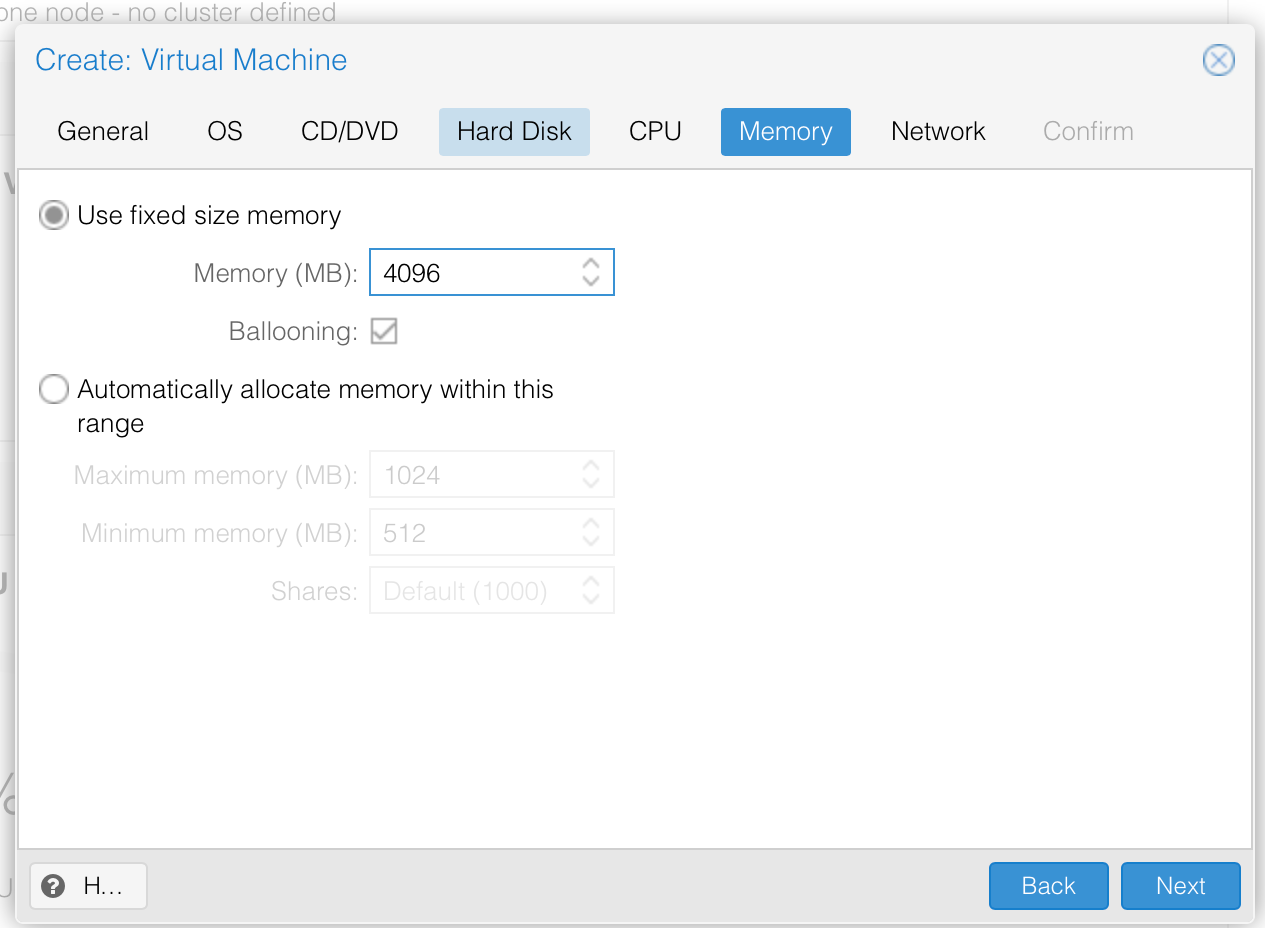
Size the memory for the ClearPass appliance accordingly to the specs:
The last step. Select the network interface for the VM:

The last page in the wizard is just the summary. Click “Finish” to create the VM.
Install ClearPass on Proxmox: Modify the VM
In this part, I add some additional hardware to the VM to make it consistent with the requirements.
First, ClearPass expects two network cards. This is a very simple step. Just add another network card, with the same options, as the first one, but to a different bridge device, to make sure, they are not on the same network:

Secondly, add an additional hard disk:
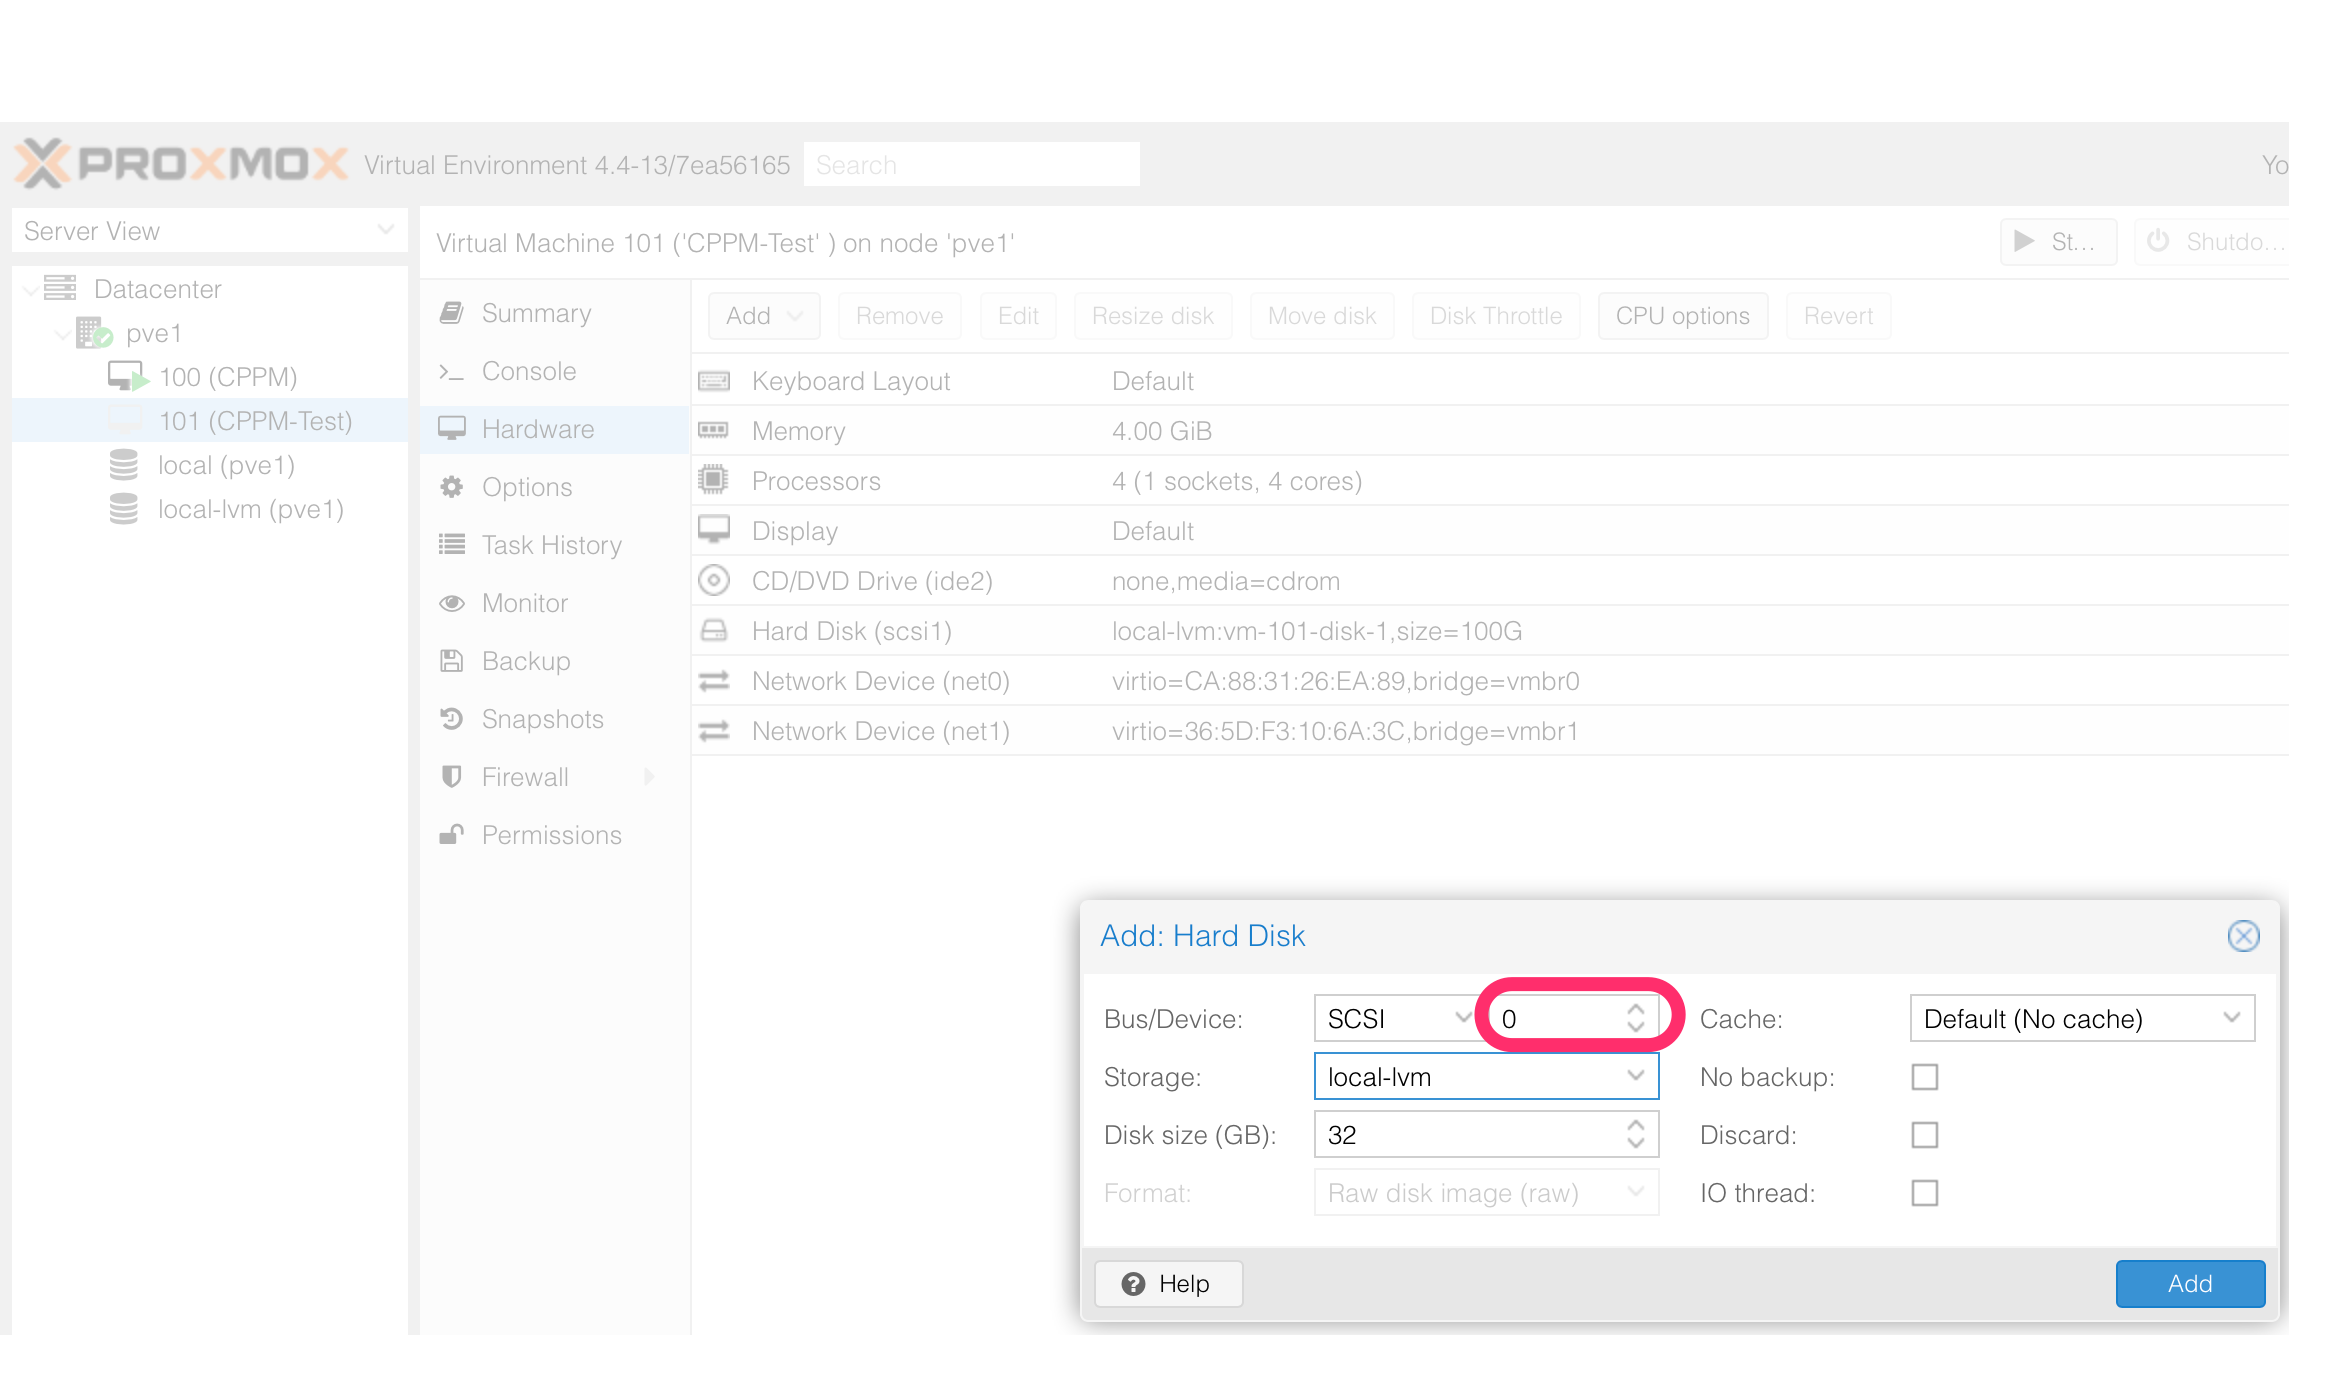
This time, it is the “Device” 0. Now, ClearPass has everything needed to get started. But wait a minute. We still need the install disk.
Install ClearPass on Proxmox: The Install Disk
To install ClearPass in a KVM environment, you use a pre-defined install disk. You download this disk from the Aruba support page. The last step for this post is to link the disk to the VM.
If you are running your VM on *.raw images, this step is pretty easy. You simply need to replace the file associated with the disk on SCSI:0 with the file from the Aruba support portal. I do not describe this in detail.
If you are running the VM on an LVM-THIN storage on Proxmox, there is no file. In my case, the SCSI:0 device is a symlink in the “/dev/
root@pve1:~# ls -la /dev/pve/vm-101-disk-2
lrwxrwxrwx 1 root root 7 Apr 25 10:53 /dev/pve/vm-101-disk-2 -> ../dm-9
The disk is the device “dm-9”. Now, with the command dd, I can transfer the content from the *.raw image to this device. Make sure, that the disk has enough capacity:
root@pve1:~# dd if=/var/lib/vz/images/CPPM-VM-x86_64-6.6.2.86796-KVM-RAW-CP-VA.raw of=/dev/dm-9This can take a while. Depending on the speed of your disks.
Afterward, you can power up the system and the normal ClearPass installation process can start. you find the steps here:
http://www.arubanetworks.com/techdocs/ClearPass/6.6/InstallingOnVM_6.6_TechNote/Default.htm
Which hypervisor did you prefer? Send me your answers and your opinion to this post via the comment function below.
https://www.arubanetworks.com/techdocs/ClearPass/6.10/Installation-Guide/Default.htm#InstallationGuide/SystemRequirements/SR-KVMRequirements.htm
Users should be aware that the Disk bus type must be set to IDE for new ClearPass Policy Manager installations and upgrades on KVM hypervisors. Do not use SCSI/VirtIO as the bus type.