Today I would like to describe the UAM portal functionality. I will show it in combination with the unified controller, which still has the configuration from my last two how to’s for the unified controller. It would be very helpful for your understanding, reading those two posts:
I will reuse a lot from the second post, mentioned above, as it is most often the same configuration, but I will show the used configuration to make sure nothing is missed.
I also use the same software version as for the other posts:
[Unified_Controller_Master]dis version
HP Comware Platform Software
Comware Software, Version 5.20.109, Release 2507P22
Copyright (c) 2010-2014 Hewlett-Packard Development Company, L.P.
LSU3WCMD0 uptime is 8 weeks, 1 day, 21 hours, 27 minutes
Prepare the Controller for UAM Portal
This time, I will use VLAN 52 for the portal users. Below is the VLAN configuration:
#
vlan 52
  description uam_portal
  name uam_portal
#
I will configure the DHCP pool on the controller again and need to enable DHCP globally, if not already enabled:
[Unified_Controller_Master]dhcp enableI also need to create the IP pool:
#
dhcp server ip-pool uam_portal extended
  network ip range 10.1.52.10 10.1.52.200
  network mask 255.255.255.0
  gateway-list 10.1.52.1
  dns-list 192.168.1.57
  domain-name hpn.local
#
I will now create the VLAN interface and bind the DHCP server pool:
#
interface Vlan-interface52
  description uam_portal
  ip address 10.1.52.1 255.255.255.0
  dhcp server apply ip-pool uam_portal
#
Next step is to create, in my case extend, the ACL which will select the IP addresses for outgoing NAT:
#
acl number 2000 name NAT_Portal_Local
 rule 0 permit source 10.1.50.0 0.0.0.255
 rule 5 permit source 10.1.51.0 0.0.0.255
 rule 10 permit source 10.1.52.0 0.0.0.255
 rule 15 deny
#
This ACL needs to be applied to the outgoing interface.
Next step is to create the WLAN interface. It will be the same as in the last two posts:
#
interface WLAN-ESS3
  description uam_portal
  port access vlan 52
#
I will now create the service template, used with this WLAN interface. Again, it will be a very simple one to make it easy for the beginning:
#
wlan service-template 3 clear
  description uam portal
  ssid uam_portal
  bind WLAN-ESS 3
  service-template enable
#
Bind the service template to an AP or an AP group and after some seconds, you should see the SSID:
#
wlan ap ap01 model MSM430-WW id 1
  serial-id CN31DWZ53K
  radio 1
   service-template 3
   radio enable
  radio 2
   service-template 3
   radio enable
#
Configure Remote UAM Portal
To configure UAM portal, you need to tell the controller, where to find the UAM portal server and which URL to use for the redirect. Below is the configuration:
portal server UAM-Portal ip 192.168.1.57 port 2000 key cipher $c$3$kwC70mD/mKNM03NyeJo7mBZSDE4foWEw97gQ8A== urlThe configuration consists of three parts. The first part is the configuration for the portal protocol, which is used for the communication between the controller and the UAM portal and consists of the UAM portal server IP and the UAM portal server port. The second part is the shared secret, used to authenticate the access device and the UAM portal server. The last part is the redirect URL which is used for client redirection to the authentication page.
As it is described in the previous posts, you need to create a free-rule for DNS:
portal free-rule 5 source ip 10.1.52.0 mask 255.255.255.0 destination ip 192.168.1.57 mask 255.255.255.255 udp 53
portal free-rule 6 source ip 192.168.1.57 mask 255.255.255.255 udp 53 destination ip 10.1.52.0 mask 255.255.255.0
In
portal free-rule 7 source ip 10.1.52.0 mask 255.255.255.0 destination ip 192.168.1.57 mask 255.255.255.255 tcp 443
portal free-rule 8 source ip 192.168.1.57 mask 255.255.255.255 tcp 443 destination ip 10.1.52.0 mask 255.255.255.0
Those two rules will allow https to the UAM portal server.
Last step is to bind the portal to the VLAN interface:
#
interface Vlan-interface52
  description uam_portal
  ip address 10.1.52.1 255.255.255.0
  dhcp server apply ip-pool uam_portal
  portal server UAM-Portal method direct
#
The last line will bind the portal to the VLAN interface and force every user to login before passing the controller.
I will now configure the UAM part of the story. So, login to iMC and head over to “User–>User Access Policy–>Portal Service–>IP Group” and click “Add”:
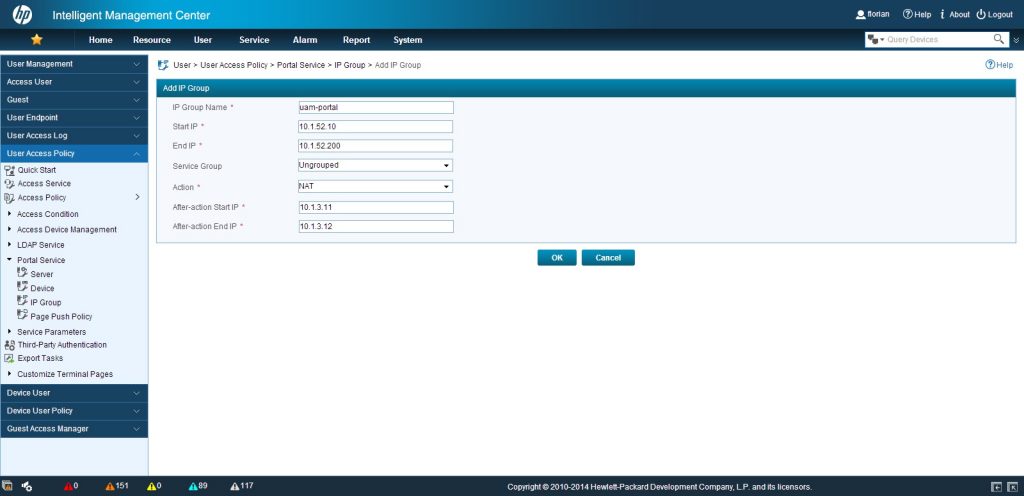
I insert the required information, which is very self-explaining. The only tricky stuff, is the “Action” part. Here you need to select NATing, if required, and the IP which will be used as the NAT IP for the clients. This has to be the IP, which is requesting the UAM portal page from the server. In my case, it is the outgoing interface where the NAT ACL was applied to.
Now, I need to create a portal device, which is the same as an access device, when working with radius. Go to “User–>User Access Policy–>Portal Service–>Device” and click “Add”:

I will insert a “Device Name” and the “IP Address”. The “Key” is the one, used with the portal configuration in the controller. Optionally, there is a description. There
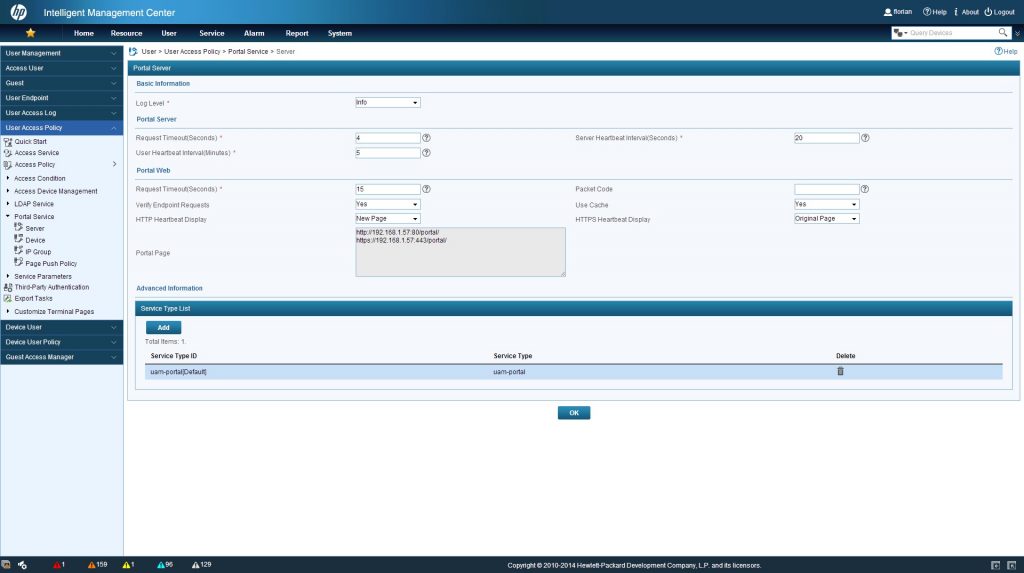
The next step is to configure the port group. To find this configuration page is a bit tricky but here it is:
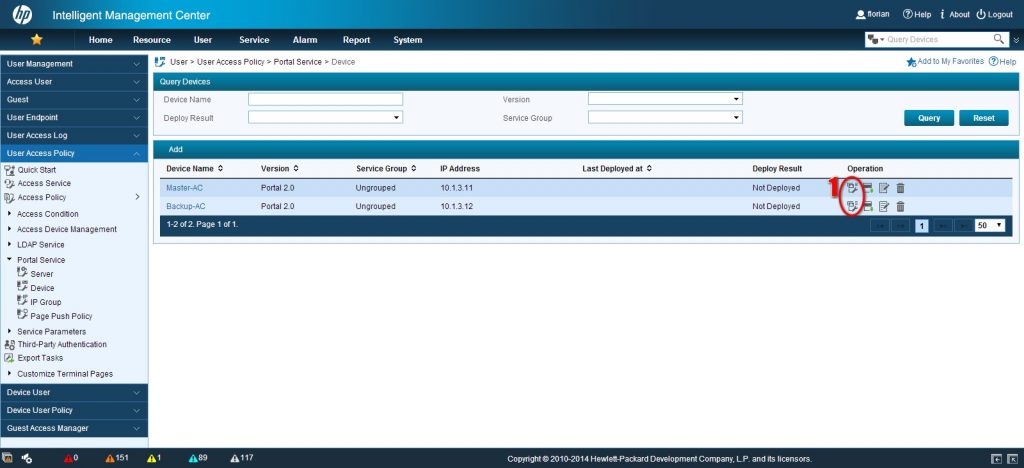
I will click “Add” on this page, which will bring up this one:
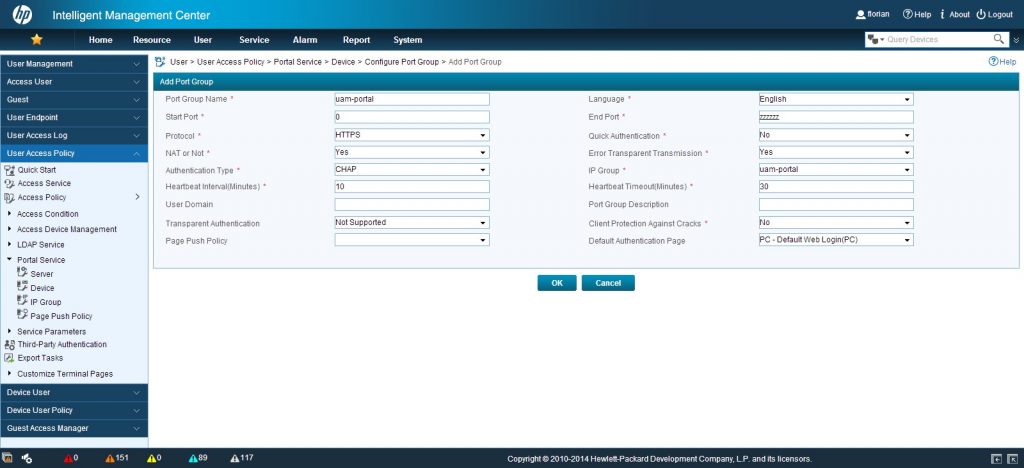
I need to insert a name and select the protocol, in my case, it is “HTTPS”. I also need to select a welcome page and make sure, that “NAT or Not” is answered with “yes”, as my setup uses NAT. Click “OK” to save the configuration. After doing this, I can test the configuration, when trying to connect to the SSID and get redirected to the login page:

As with the local portal, I need to create a domain, or use an existing one, which will be used for authentication. I will create a new one and use the existing radius scheme for iMC, which was created in the previous post:
#
radius scheme imc
  primary authentication 192.168.1.57 key cipher $c$3$3fDjUdwNv88XbybrugfFDrRV+P+LZKSPLyB7PA==
  primary accounting 192.168.1.57 key cipher $c$3$YodRPYG9AZJBb6UROl6+X17DaDMdAOjrxiOj9g==
#
This scheme is used for the new domain, I created:
#
domain uam-portal
  authentication portal radius-scheme imc
  authorization portal radius-scheme imc
  accounting portal radius-scheme imc
  access-limit disable
  state active
  idle-cut disable
  self-service-url disable
#
I than bound this domain to the portal, as a mandatory domain. This is configured per interface:
#
interface Vlan-interface52
  description uam_portal
  ip address 10.1.52.1 255.255.255.0
  dhcp server apply ip-pool uam_portal
  portal server UAM-Portal method direct
  portal domain uam-portal
#
The last line is doing
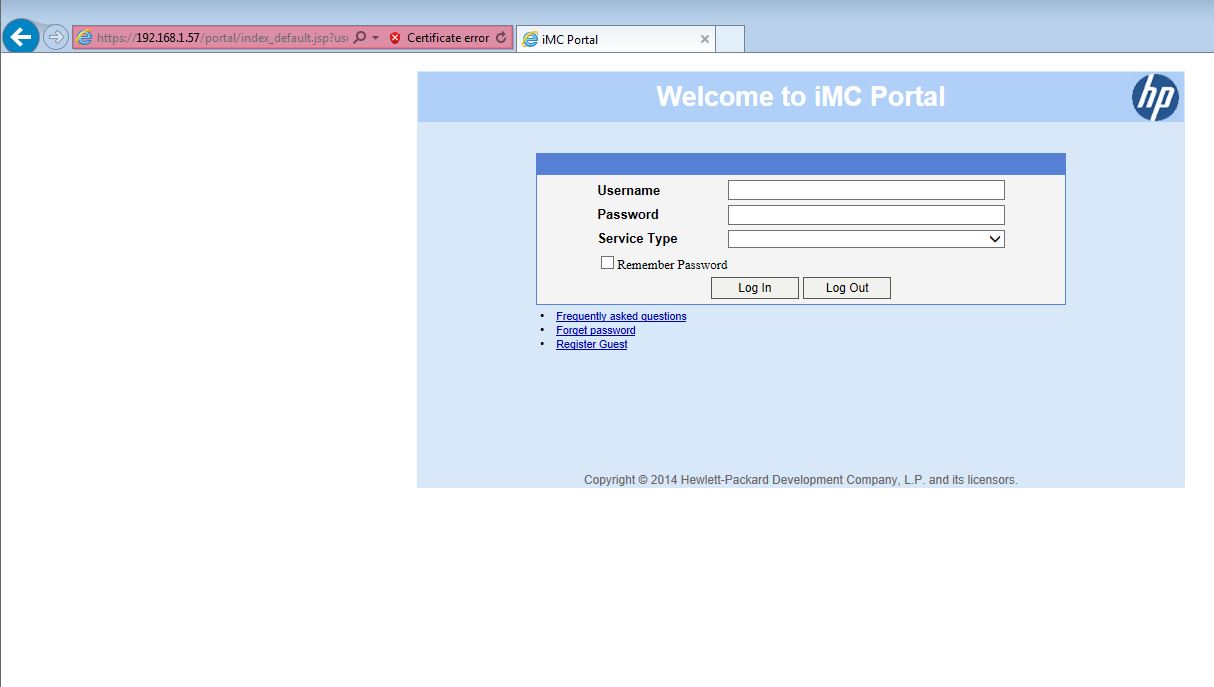
If connecting to the SSID, the UAM portal welcome page should be visible with the created service ID as the “Service Type”.
To create users, I use the same setup as described in the post below in the section “Adding Guests with the Selfservice Portal”:
How To: Local Captive Portal with Remote Authentication
I just changed the used domain, to the one created above, but the steps are the same.
As a reference, I used the documentation available at http://hp.com/go/networking
Any feedback and questions are very welcome. Just leave a comment.