Today, I would like to show the installation of the HP VSR (Virtual Service Router) on an ESXi host. It should also work for ESX.
The VSR is a virtual router, running on VMWare and KVM. It will also run in VMWare player and workstation without consuming a lot of resources, which makes it ideal for testing. But also in production environments, the VSR is a perfect solution.
I discovered another use cases for the VSR, together with iMC UAM. As you can read in various previous posts about BYOD or captive portal, you always need a redirecting device. The VSR can be used for that task in environments with no other Comware based devices. This could be the cases when using provision based switches and the MSM solution. To help you in this scenario, I would like to show how easy the installation is. I will use VMWare ESXi but the same should apply to ESX.
Download the VSR
Before you can start, you need to download a copy of the VSR from the Aruba ASP website:
Just hit the download button and get access to the full-featured demo. Even, if the demo version is limited in performance, it should be enough for testing purposes.
After downloading, you should have a .zip file containing the release notes, the IPE file (this is used for upgrading already installed VSR’s), an ISO file (this can be used for installation and upgrading the VSR) and the OVA file (which I will use for the installation of the VSR). The OVA file can also be installed into VMWare workstation or player.
Install the VSR
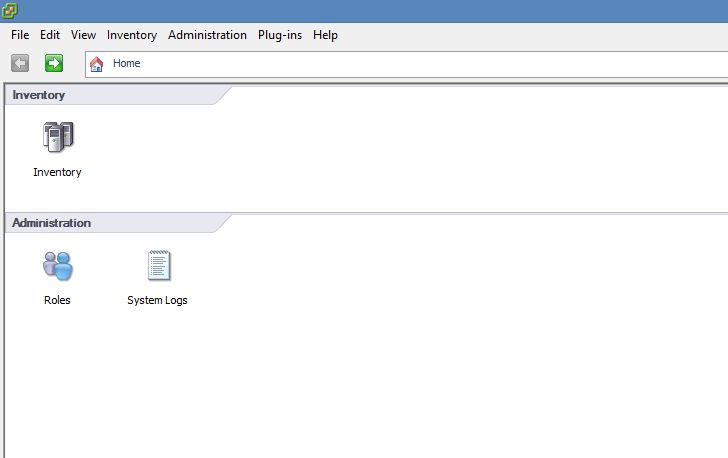
For installing the VSR you need to open the VMWare vSphere client and connect to the ESXi server of choice. After you are connected, you should see this page:
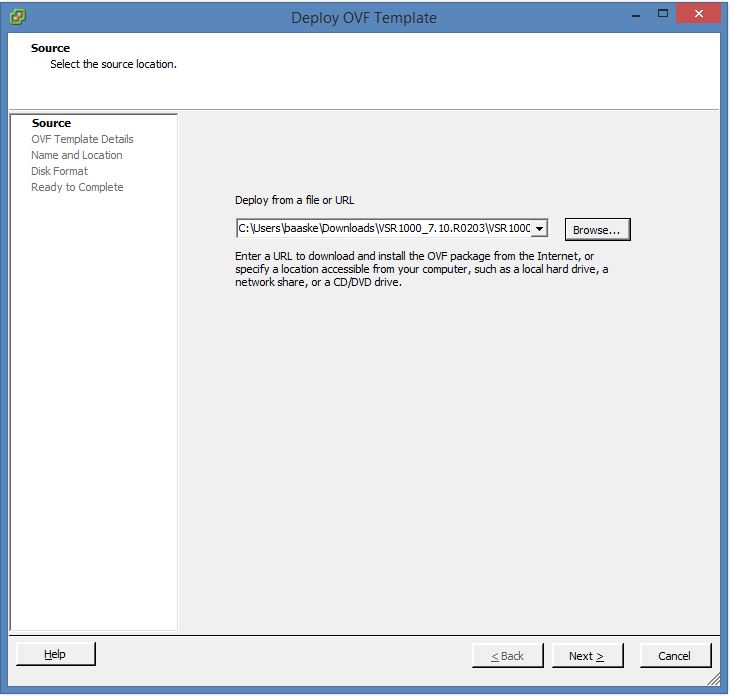
You can now click “File–>Deploy OVF Template”. On the following screen you should select the downloaded OVA file:
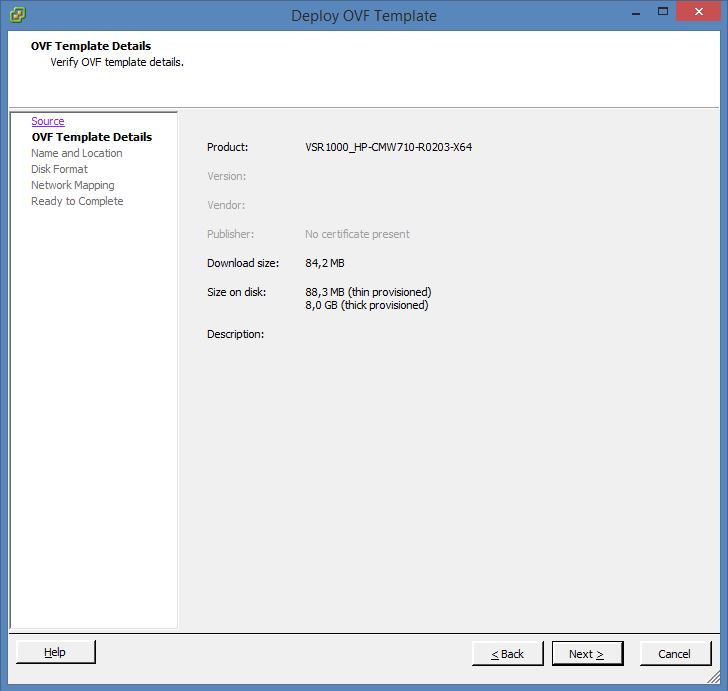
Click “Next” to see the details of the package:
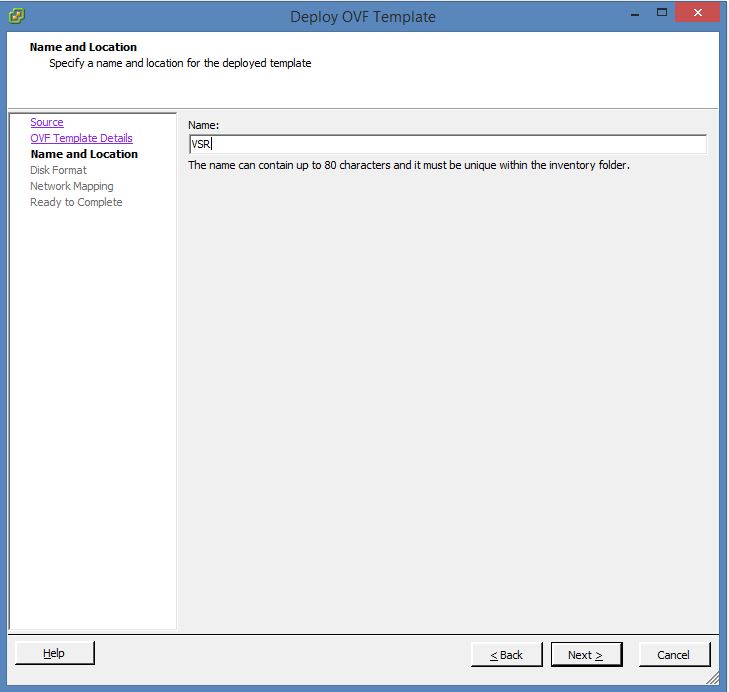
Click “Next” to provide a name to the virtual machine, which will be created:
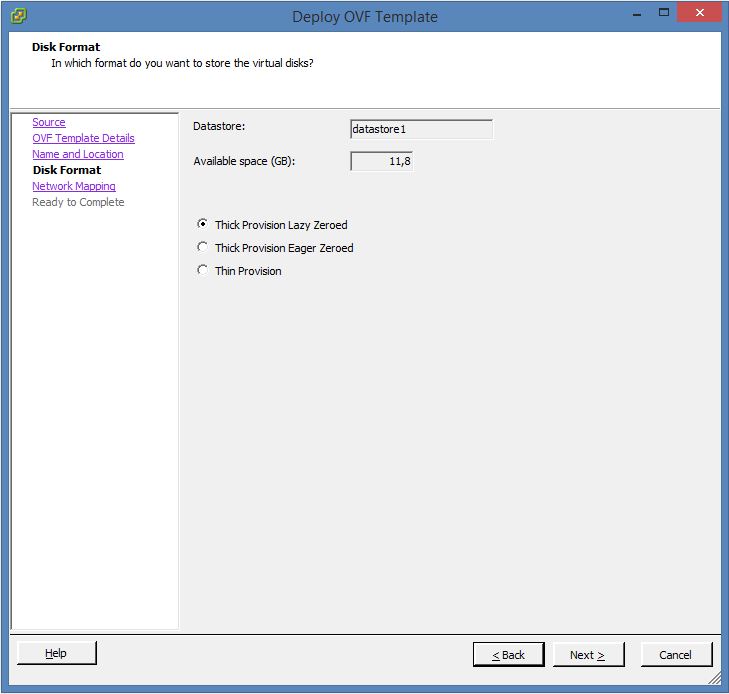
Click “Next” to select the disk format which will be used for the virtual machine:
Click “Next” and select the network used for the first network adapter. You can add
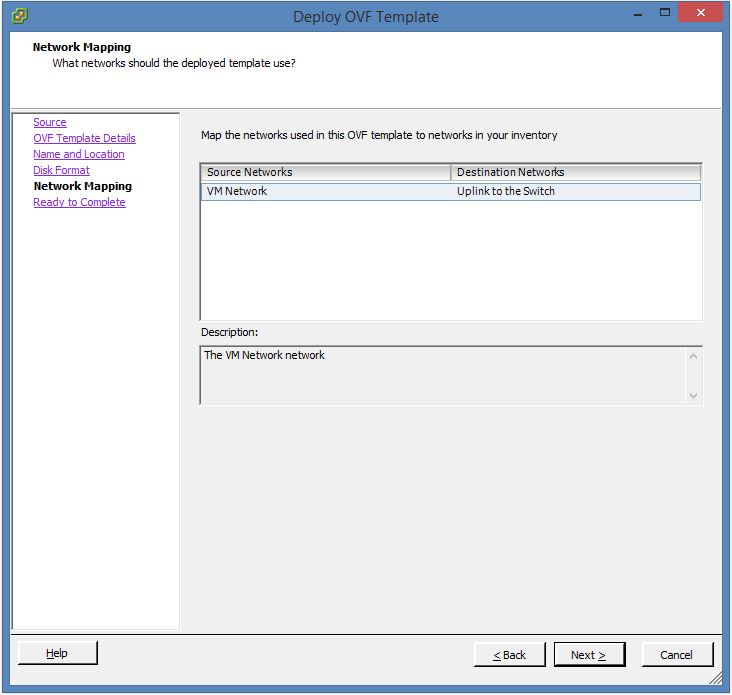
Click “Next” for the last time, to see the summary. On this screen click “Finish” and the installation process will start:

After the installation process is finished, you can change the virtual machine settings and add more network adapters if necessary, up to 16 are supported.
For testing purpose, it is a good practice, to work with snapshots, as you can easily jump between configurations or revert back to a known to be good
For any questions or feedback, please use the comment function below.
Hello Florian!
The download link for HP VSR1000 changed. Now it’s available at https://h10145.www1.hpe.com/Downloads/SoftwareReleases.aspx?ProductNumber=JG811AAE&lang=en&cc=us&prodSeriesId=5443163
Thank you!
Hi Eduardo,
Thanks for the note.
Unfortunately, HPE is changing URL’s constantly. It is hard to keep track.
BR
Florian